Saturday 15 March 2014

Sharpie pen art

After a browse on Pinterest for kids craft ideas I stumbled across a blog post using Sharpies on T-shirts as an alternative to tie dye. The effects were stunning and I wanted to try it immediately but didn't have a suitable t-shirt to hand. I am such a 'got to do it now' person! I did however have a plain cotton drawstring bag that I had purchased for Lino cuts printing. Perfect!

I experimented first on a mini canvas. I tried lots of different patterns with the pens but in the end the simplest design worked best. I used two colours to create a simple sunburst shape.

Then the recipe called for rubbing alcohol. I thought about trying regular clear alcohol like vodka but as this was going to be a project for kids my advisors suggested that it wasn't appropriate. A trip to the pharmacy as suggested on the website proved fruitless as they had never heard of it but after a quick search it turns out to be the American term for surgical spirit. Now I have a gallon of the stuff so if I ever need to harden the soles of my feet I'll be ok.

Using a pipette from a first chemistry set I dropped a small amount onto the centre of each shape. Instantly the colours burst like a firework to create a spectacular colour fest! It was a bit trial and error in terms of the amount of alcohol to add. Too much and the centre faded but not enough and it didn't reach the edge of the shape. Be patient though as the alcohol continues to ooze for a while.

I used a folded up newspaper between the sides of the bag to ensure that the colours didn't seep through.

I don't know if this project would be washable but I don't intend to wash my fab bag.


Friday 28 February 2014

BC Etsians


I'd like to introduce you to a new team on ETSY. 

BC Etsians    


https://www.etsy.com/uk/teams/20058/bc-etsians

We are a small, dynamic and highly motivated team from all areas of the crafting community. We use social media to promote the work of our team mates. 

Click on the pictures to visit the ETSY shop.

I'll start with the team captain
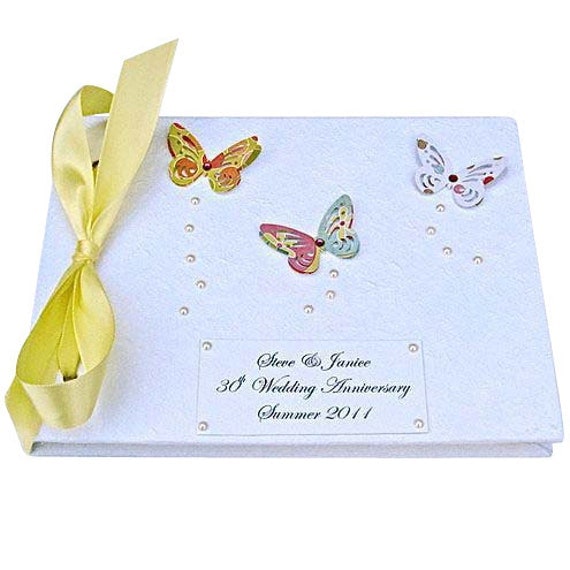
Susan (AKA Dottie) of Dottie Designs creates unique memory books, keepsake boxes and wedding albums. Items can be customized for your special event.
https://www.etsy.com/uk/listing/93895442/personalised-summer-butterfly-wedding?ref=shop_home_active_5
Next (following the team list) is 


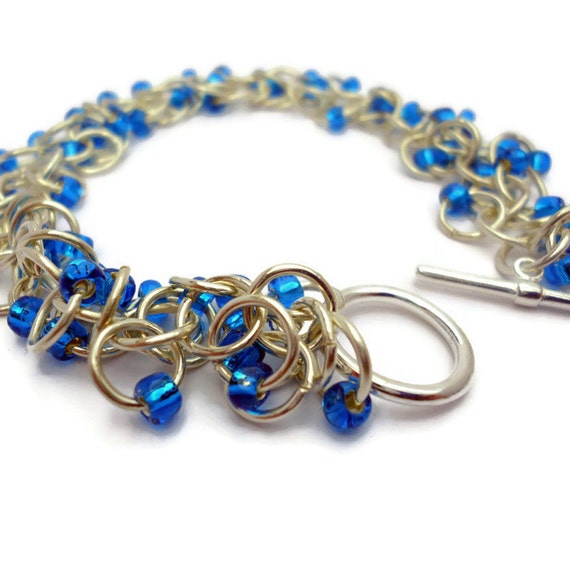
Ailsa specializes in polymer clay jewellery and chainmaille. 


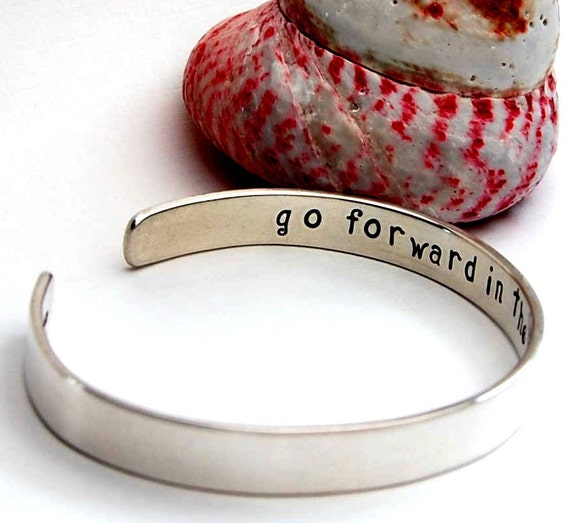
 I love the sterling silver jewellery that Carol designs. Her shop Designs by Caz is filled to the brim with glittery goodies that I covet madly. 

I especially love the simple yet stunning design of this bracelet.


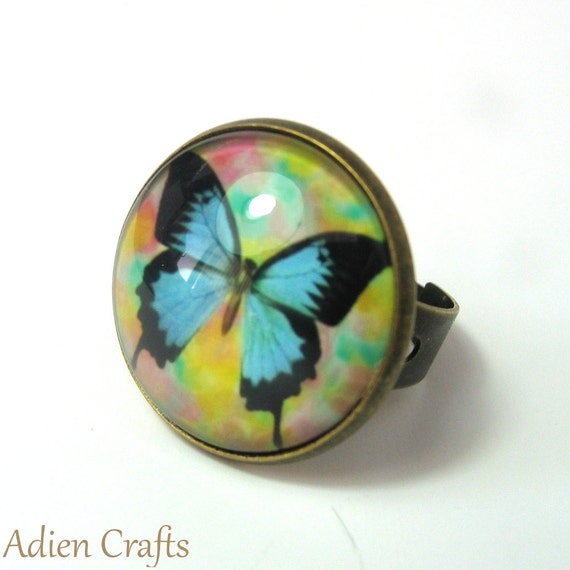
 And the last (but by no means least) of the leaders is Diane from Adien Crafts.And this evening after a few years of being in teams with Diane I have recognized that Adien is an anagram! Bit slow. 

 I remember the butterflies in the rainforests of Central America last year and these Blue Morphos are my favourites.


If you would like to join our BC Etsians click on the flag above. 
You can also follow us on facebook 
https://www.facebook.com/BCEtsians
on Pinterest
http://www.pinterest.com/bcetsians/
and twitter
https://twitter.com/BCEtsians

Thursday 27 February 2014

House of Wonderland - Seller Interview

This week I had the pleasure of interviewing Tessa from House of Wonderland 
 https://www.etsy.com/uk/shop/HouseOfWonderland/. 
Her work always attracts my attention as it is quirky, original and a bit odd  ( in a good way!) 

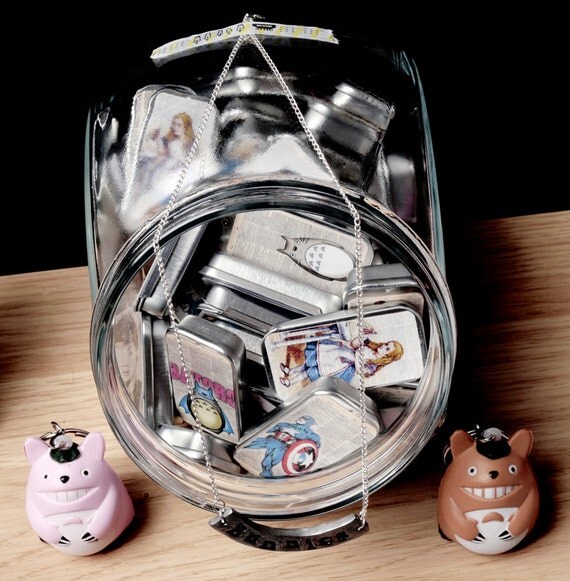
Tessa sells a range of products in her ETSY shop from pendants to tins to journals. My favourite products at the moment are these tins filled with mints.

https://www.etsy.com/uk/listing/115613275/up-cycled-retro-mint-tins?ref=shop_home_active_17


Some background first. 

Tessa studied Art & Design whilst at college in Skipton, Yorkshire where she developed a passion for innovative craft and design. Tessa is constantly inspired by Japanese and vintage styles as well as her own children. This has resulted in colourful, unique designs.
 Tessa uses the age old method of 'trial and error' whilst playing around with new materials. .  I use this myself! It really helps you to understand what the materials can do and how they react with others.

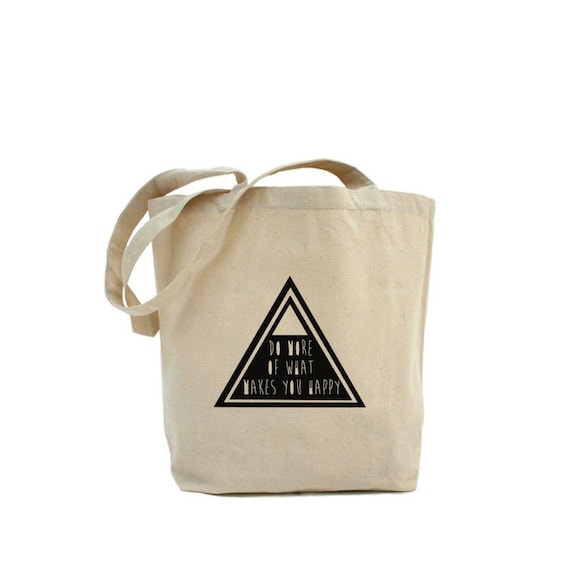
https://www.etsy.com/uk/listing/177977799/do-more-of-what-makes-you-happy?ref=shop_home_active_16

With such a wide range of products in her shop I was keen to find out how Tessa organized her work. She replied that all the new products are made in batches so they are all 'ready to go' and so customers are not kept waiting. I can vouch for this. My map pendant was quickly dispatched and well packaged. 
I asked Tessa how she found the time to make when she is so busy selling? How do you organize your time?  
She replied ....I don't sleep!... :D ....I plan new ranges to make very carefully.  I plan every aspect of them, how I will make it, what would be the best material to use, where can I get this material etc, etc.  Once every aspect is planned I then buy everything in one go. Which means... lots of happy post! Whoo hooo! As they are all planned and I know exactly what to do it's faster to get the products made and a lot more organised! 
My favourite items in the shop are the Alice inspired creations. I wondered if Tessa had a favourite. 
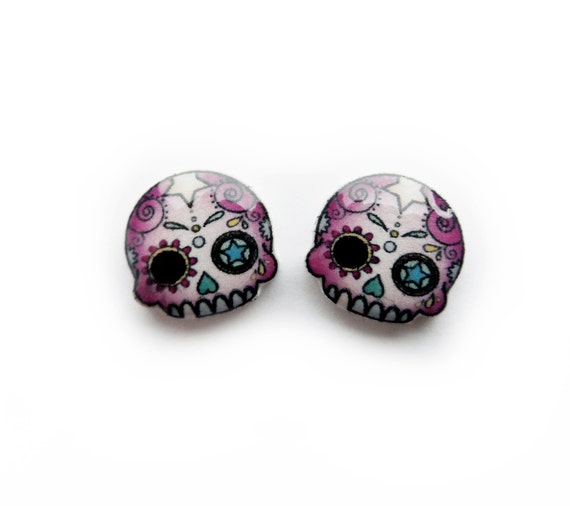
https://www.etsy.com/uk/listing/129527429/pink-day-of-the-dead-mini-skull-studs?ref=shop_home_active_21
My personal favourites are the tattoo pieces.  I have a phobia of needles and I am way to scared to get a tattoo! So the jewellery is a perfect choice for me!  One of my favourites is the new tattoo compact mirror in collaboration with Elektrisk Tatovering.  

and finally I asked for a TOP TIP for selling on line. 
Network! Network! Network!

Monday 15 July 2013

Last Minute Teacher Gifts

Just a quick round up of last minute teacher gifts found on ETSY. These are all from UK sellers and if ordered very quickly should arrive by the end of term especially if you don't finish until next Tuesday like my boys. I can't wait for the school holidays to start!
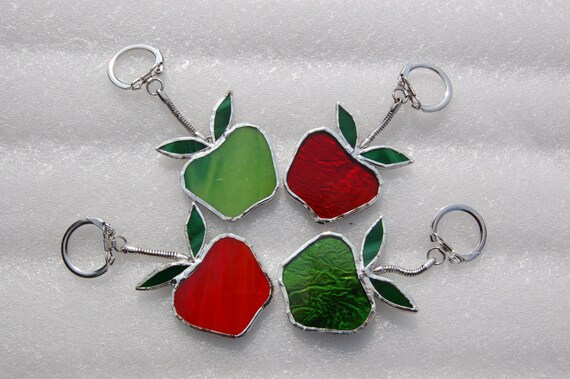
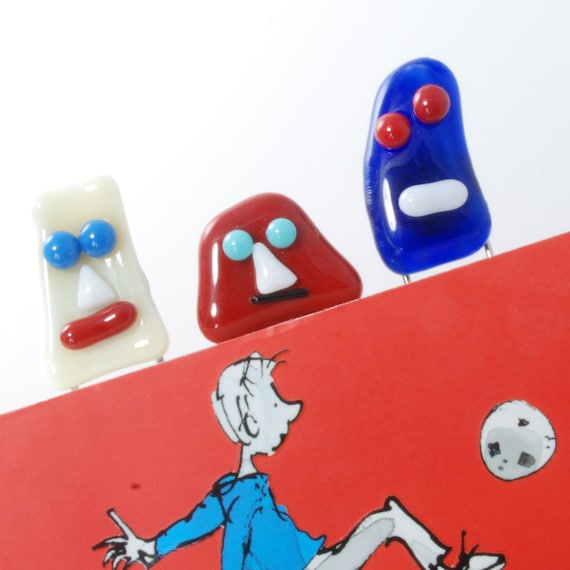
Apple for teacher keyrings by BluebirdsGlass

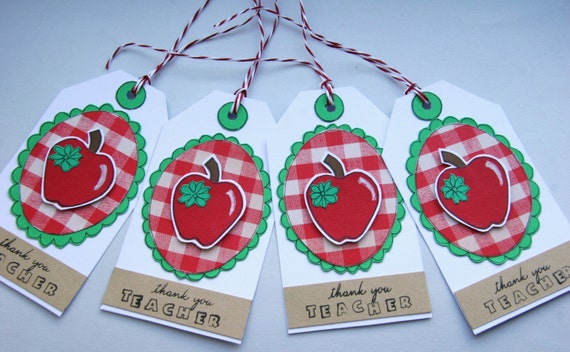
Thank you teacher tags by CraftyMushroom Cards
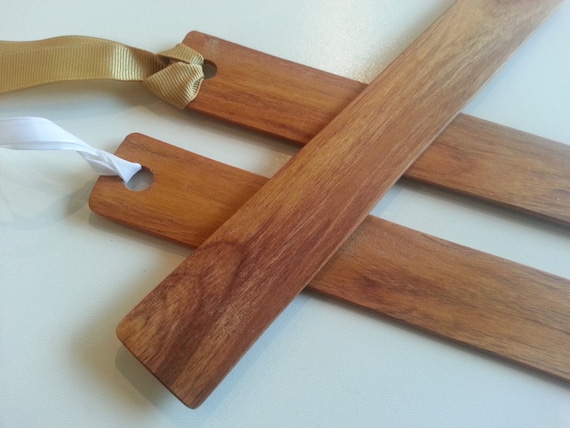
Wild cherry bookmarks by CottageCoppicing


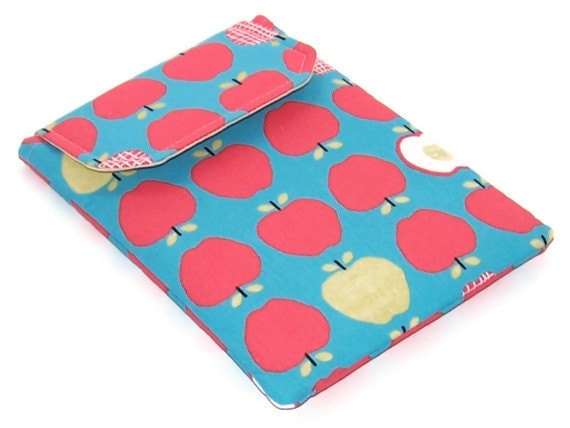
Kindle Fire 7" Case APPLES by WhimsyWooDesigns

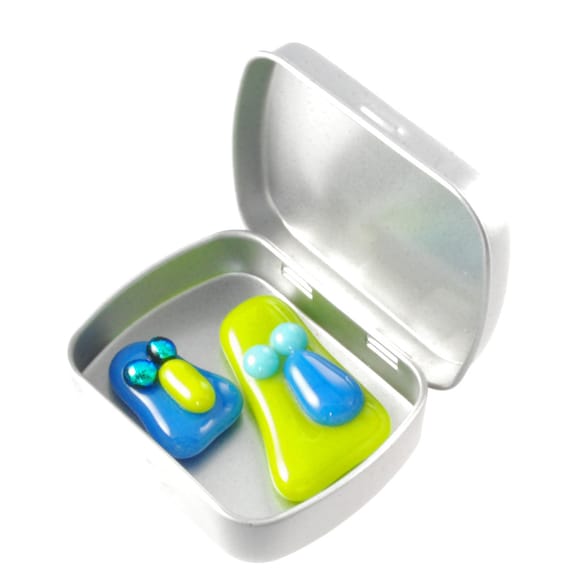
Two Glass Magnets by BlueDaisyGlass
Giant Paperclip bookmarks by BlueDaisyGlass


Friday 12 July 2013

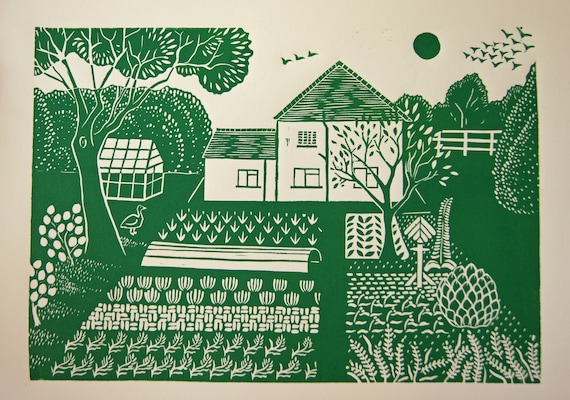
Lino Cuts

For those of you that are linked to my facebook page  
https://www.facebook.com/bluedaisyglass ( feel free to go and like) 
you may have noticed I've had a thing going for lino cuts this week. Oscar got some tools and lino in his birthday tool box and I thought I should have a go to iron out any problems! Good job I did they are so sharp I sliced my finger within the first two minutes. There was quite a lot of blood! 


I had in mind some 'Thank you' cotton bags from the boys to their teachers. Oscar drew a picture of a sun and wrote 'thank you' on sheet of paper the same size. Then I turned the paper over and rubbed the back. I remember doing this at school using that odd tracing paper from the toilets. (Humour me those of you that are young enough not to remember this paper!) So glad I remembered to turn the words backwards. I did however forget the part where you leave the part you want and so on the 'Oscar 'test piece I actually cut the letters.

 It doesn't look too bad though. It took a while to cut off all the excess and I did my first print onto paper. It was obvious where I hadn't cut enough so I cleaned it and scraped some more. After another few test sheets I was ready to print on the bags. No room for mistakes here.


 I did an extra one for me with a dandelion style cut. The bags are hanging to dry while I cut personalized lino for each teachers name. I think if they were mounted onto wood they would work as a stamp so I'll include those in the bag. Each child has drawn then carved their own name on a circular piece of lino add a 'from' element to the bags.

I enjoyed this project and so delved into the online crafty world to find some professional examples. I cannot believe how intricate the designs are. How on earth!

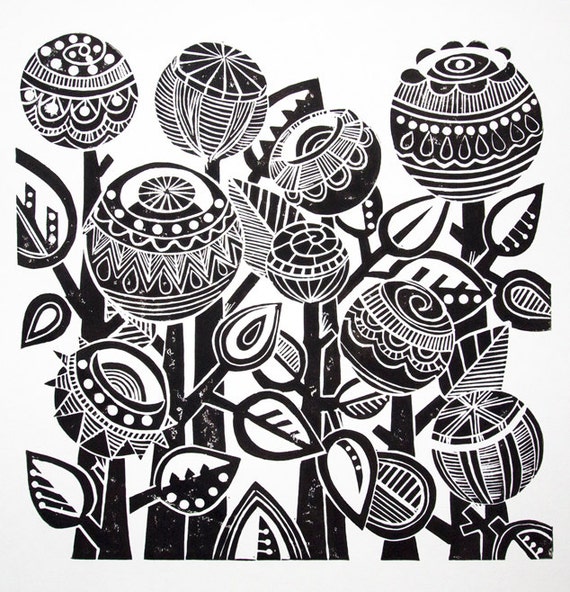
Jools Yasities
I love these stylized flowers.

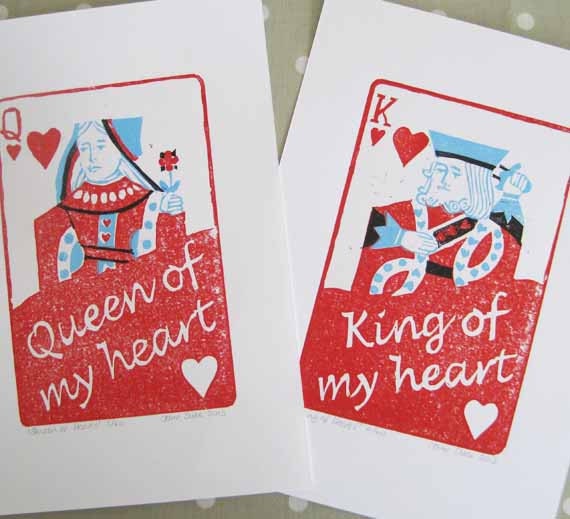
King and Queen of Hearts by JaneDukeArtist
I love the multiple colours in this one. I may have to do a 'how to' on youtube.


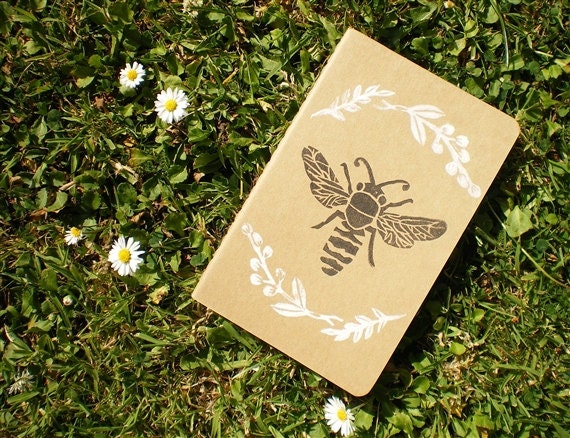
Moleskin bee notebook by Talented Apple 

I think my boys would love to print on books and paper with name prints they have been working on.
HannahAndHerPress

This is so precise. One slip of the tool and a whole row of cabbages would be wiped out! I love the perfection in this one.

Saturday 6 July 2013

Strawberries.

So it's the final weekend of Wimbledon and Murray Mound is heaving. It's actually sunny and the forecast predicts that it will remain so for Sunday. Let's grab some strawberries and a bottle of Pimms and think positive thoughts. 

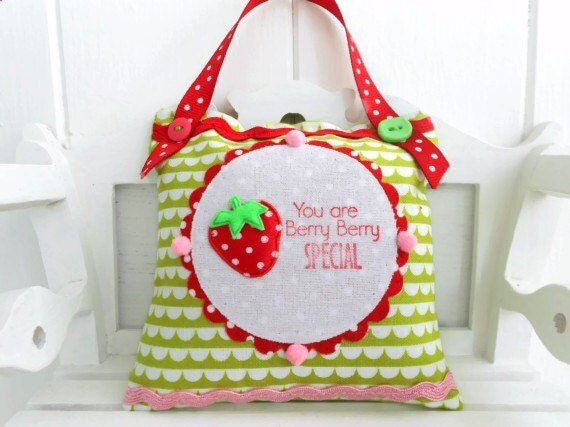
Door hanger by Picocrafts

Strawberry facts.....

Nearly 27,000 kilos of strawberries are eaten at Wimbledon each year.

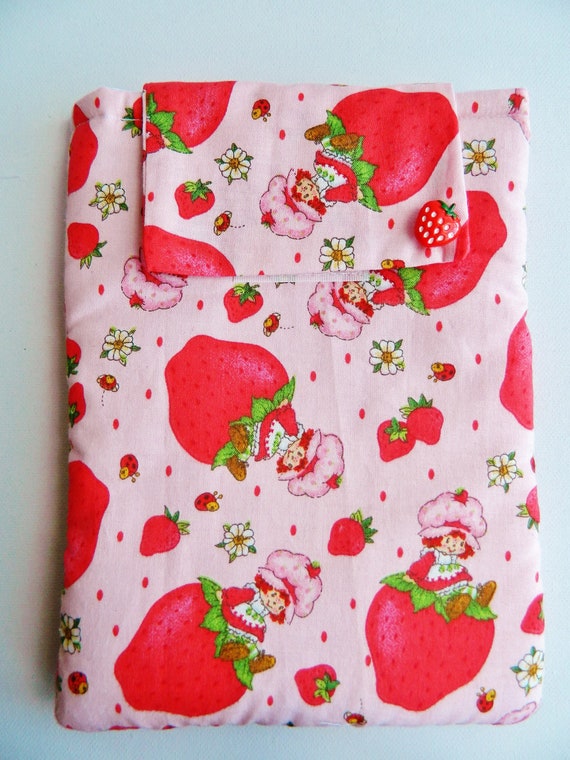
Kindle pouch by Bluebirds and Daisies

Eating eight strawberries will give you more Vitamin C than an orange.

There are approx 200 seeds in every strawberry.


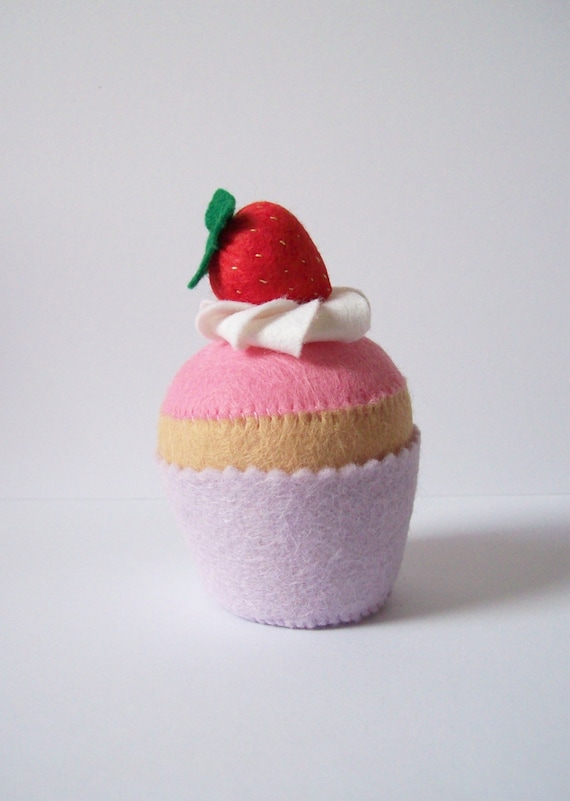
Strawberry Pincushion by Hippywitch

The strawberry plant is a member of the rose family.

Ellagic acid found in strawberries can help to fight cancer.

Cholesterol may be reduced by the flavonoids in strawberries.

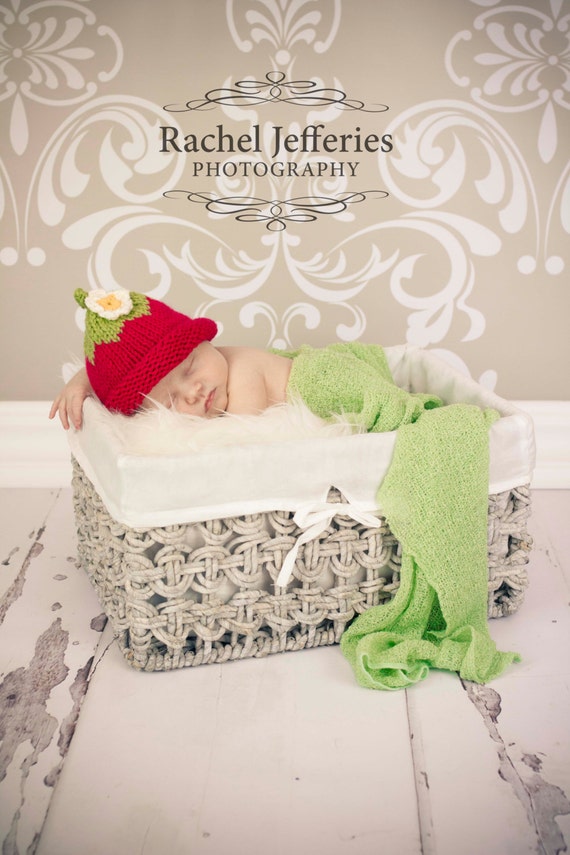
Baby newborn strawberry hat by The Yarn Owls Nest

I think I'm going to go and look for a jam recipe as I have a bit of a glut. I keep buying those special offer boxes and no one else seems to be eating them except me. A 100 g serving for 50 calories is pretty good though. Perhaps it's the cream I am adding! 

Enjoy the tennis.

Friday 28 June 2013

Up-cycled art chair

We didn't have iPads or computers when I was growing up. We played in the garden and collected stamps when it was raining. If we felt a bit arty we cut up cereal boxes and made dolls houses or heated crisp packets in the oven to make our own shrink plastic. 

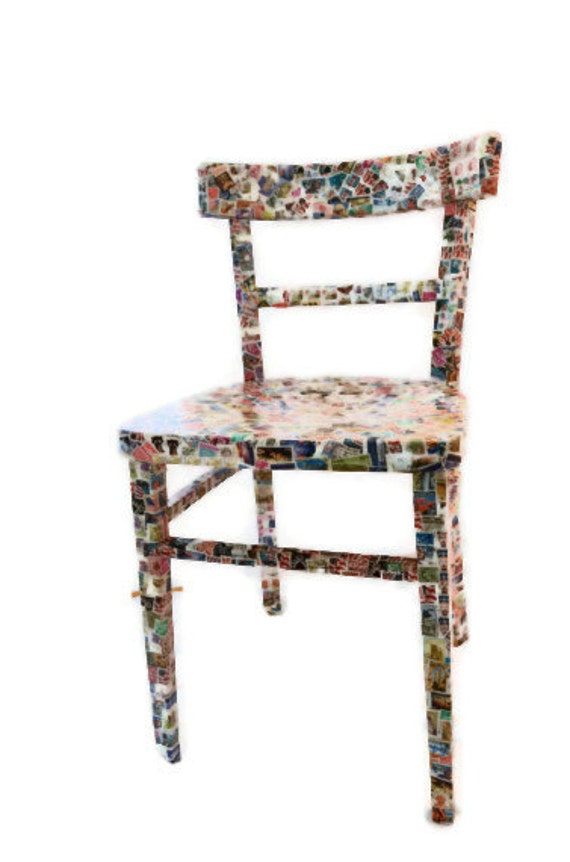
I knew one day my stamp collection would come in handy! I selected the brightest ones and weeded out the best ones that ' might be valuable' one day and added a few I had stashed ready for a project. Last weekend I went to the local boot sale to source my item to up-cycle. Within minutes I had found the perfect kitchen chair at a rock bottom bargain price. It was in a pretty bad way! 

First I sanded the chair. I tried bribing my children to do this part as I hate the preparation part of a job but they weren't interested, not even in a fiver! It took ages but  I was happy with smooth finish after a few hours. Then the fun part. I used copious amounts of mod podge to stick the stamps to the chair. I tried straight lines and minimal overlapping but that didn't look quite right. The slap it on and fill in any gaps approach worked so much better. I'm sure there are still a few gaps but you would need a magnifying glass to find them. The hardest parts were the corners and then making sure the perforations didn't stick out. The easiest way to do that was using mod podge with bare hands to smooth out any rough parts. The glue peeled off my hands like the PVA we used to use at school. I have unused two coats of non yellowing varnish to seal the chair and give it a tough durable finish. 

I think it would look great in a shabby chic style room or a contemporary boys bedroom. 

I've really enjoyed this project and now need to source more stamps for another. I think a Beano chair might be fun too.

The final ETSY listing.....click on the picture for more info.